The clinical success of the indirect restoration requires a precise working model and thus depends on the accuracy of the final impression. An accurate impression is one of the primary determinants for a precisely fitting indirect restoration.
Taking a precise impression is one of the most challenging steps in restorative dentistry, yet it is the foundation and the key to the longevity of the indirect restorations. Dental impression materials are utilized to make reproductions of oral structures and these impressions can be poured with a high-strength stone to duplicate the oral structures.
Countless techniques and materials have been developed over the years to improve the accuracy and predictability of this challenging task. Some exciting and promising developments have recently emerged alongside the growing application and widespread use of CAD/CAM technology. Improved intraoral optical scanners may be able to simplify or someday even eliminate the mechanical aspect of taking an impression with impression material and tray. The digitized information on the prepared teeth can be readily available for precise, computer-assisted fabrication of master casts and definitive restorations and preserved as a digital file instead of a deteriorating impression material. This new digital technology will continue to transform digital intraoral scanning into a routine procedure in more dental offices in the near future.
Healthy periodontal tissue is a prerequisite for the success and accuracy of the final impression. Inflammation of gingival tissues before impression-taking can complicate the procedure. Bleeding and moisture from the crevicular fluid can displace impression material, resulting in voids and rounded, indistinct finish lines that can cause an inaccurate cast and an improperly fitting definitive restoration. Furthermore, if a subgingival margin is placed in the presence of inflammation, there is a potential risk of gingival recession and exposure of the restorative finish line. Therefore, the soft tissue must be properly managed.
The preoperative considerations during initial therapy are to control and eliminate all sources of irritation and inflammation. This can be accomplished by control of plaque-related etiologies and/or correction of restorative contributing factors. Unfortunately, this may require delaying the impression procedure after tooth preparation to allow for the improvement in the soft tissue condition. The provisional restoration is an essential component of this initial therapy and can improve the quality of the impression. It preserves the position, form, and color of the gingiva and maintains the periodontal health before impression-taking and while the definitive restoration is being fabricated.
Management of soft tissue during the preparation and impression-taking states requires an understanding of the gingival tissue architecture. The most important determining factor in predicting how the tissue will respond to preparation and impression techniques begins with the relationship of the free gingival margin to the osseous crest. Preoperative recordings of facial and interproximal bone height and determination and preservation of the biologic width can provide predictable post restorative gingival margin levels and periodontal health.
Impression materials will only make accurate reproductions of tooth surfaces that are clean, visible, and dry. Therefore, tooth preparations with subgingival finish lines require the displacement of gingival tissue. Several techniques have been proposed such as;
electrosurgery
diode laser gingival troughing
rotary gingival curettage
To achieve low-trauma gingival displacement, the retraction cord technique is the most reliable and predictable regarding control gingival recession caused by impression.
One study indicates that a minimal crevicular width of 0.20 mm is required for consistent accuracy and defect-free impressions, and the minimum time in the sulcus to achieve this dimension is 4 minutes.
Retraction pastes provide an alternative method for the displacement of gingival tissue. One method involves the injection of a paste composed of clay into the sulcus, which mechanically separates the tooth from the surrounding tissue, creating space between the prepared tooth and the sulcus. These materials contain aluminum sulfate or aluminum chlorate, which provide retraction and hemostasis. These retraction paste systems include;
Astringent (3M ESPE),
Expasyl gingival Retraction Paste (Kerr),
Traxodent Hemodent Paste Retraction System (Premier Dental).
Magic FoamCord retraction paste (Coltene/Whaledent). This system involves PVS materials that expand in the sulcus from the release of hydrogen during the setting process.
GingiTrac Gingival Retraction Material (Centrix). This contains a hemostatic agent. Besides, foam or cotton caps can be used to compress the material into the sulcus.
Reports indicate that effective soft tissue management can be accomplished with less histologic damage using retraction pastes (Expasyl and Magic FoamCord) compared with retraction cords.
Clinical studies have shown that these retraction paste systems may provide less separation of the junctional epithelium in the sulcus and less recession than the retraction cord. However, studies indicate that these materials may not provide the same amount of penetration and displacement of the gingival tissue.
There are several guidelines for predicting the post restorative gingival margin levels and the periodontal health after preparation, gingival retraction, and impression-taking. These guidelines should be considered during the diagnostic phase and before the restorative appointment because they can provide the patient with a stable and healthy periodontium after preparation, impression-taking, and placement of the restoration.
Measurements on the facial and interproximal regions of the unprepared tooth can provide predictable categorization. These osseous crest positions can be divided into three categories: normal, low, and high.
For a normal crest position, these two measurements for anterior teeth should be approximately 3 mm on the facial and 4 mm on the interproximal when adjacent teeth are present, and this relationship occurs in approximately 85% of patients.
When the depth of the osseous crest to the gingival margin is greater than these measurements, it is considered to be a low crest position, which occurs in approximately 13% of patients.
If the depths are less than these measurements, it is considered to be a high crest position, which occurs in 2% of patients.
In a normal osseous crest position, the gingival complex will return to a normal crest relationship after tissue manipulation and impression-taking. However, in a high crest relationship, traumatic manipulation and placement of subgingival preparation margins will position the definitive restoration too close to the osseous crest, creating a violation in biologic width. The low crest position with a thin biotype is considered the most unstable clinical situation and can result in the most variation in the final gingival position. For optimal restorative results, the low and high osseous crest positions should be identified in the diagnostic phase and corrected through osseous and/or orthodontic treatment before restorative treatment.
In clinical situations where adjunctive therapy is not planned, careful and gentle manipulation during the impression-taking process is critical. During gingival displacement, therefore, the size and number of retraction cords should be modified according to the osseous crest position and tissue biotype. It is suggested to use a single-cord technique on high and low crest positions and a double-cord technique on normal crest positions.
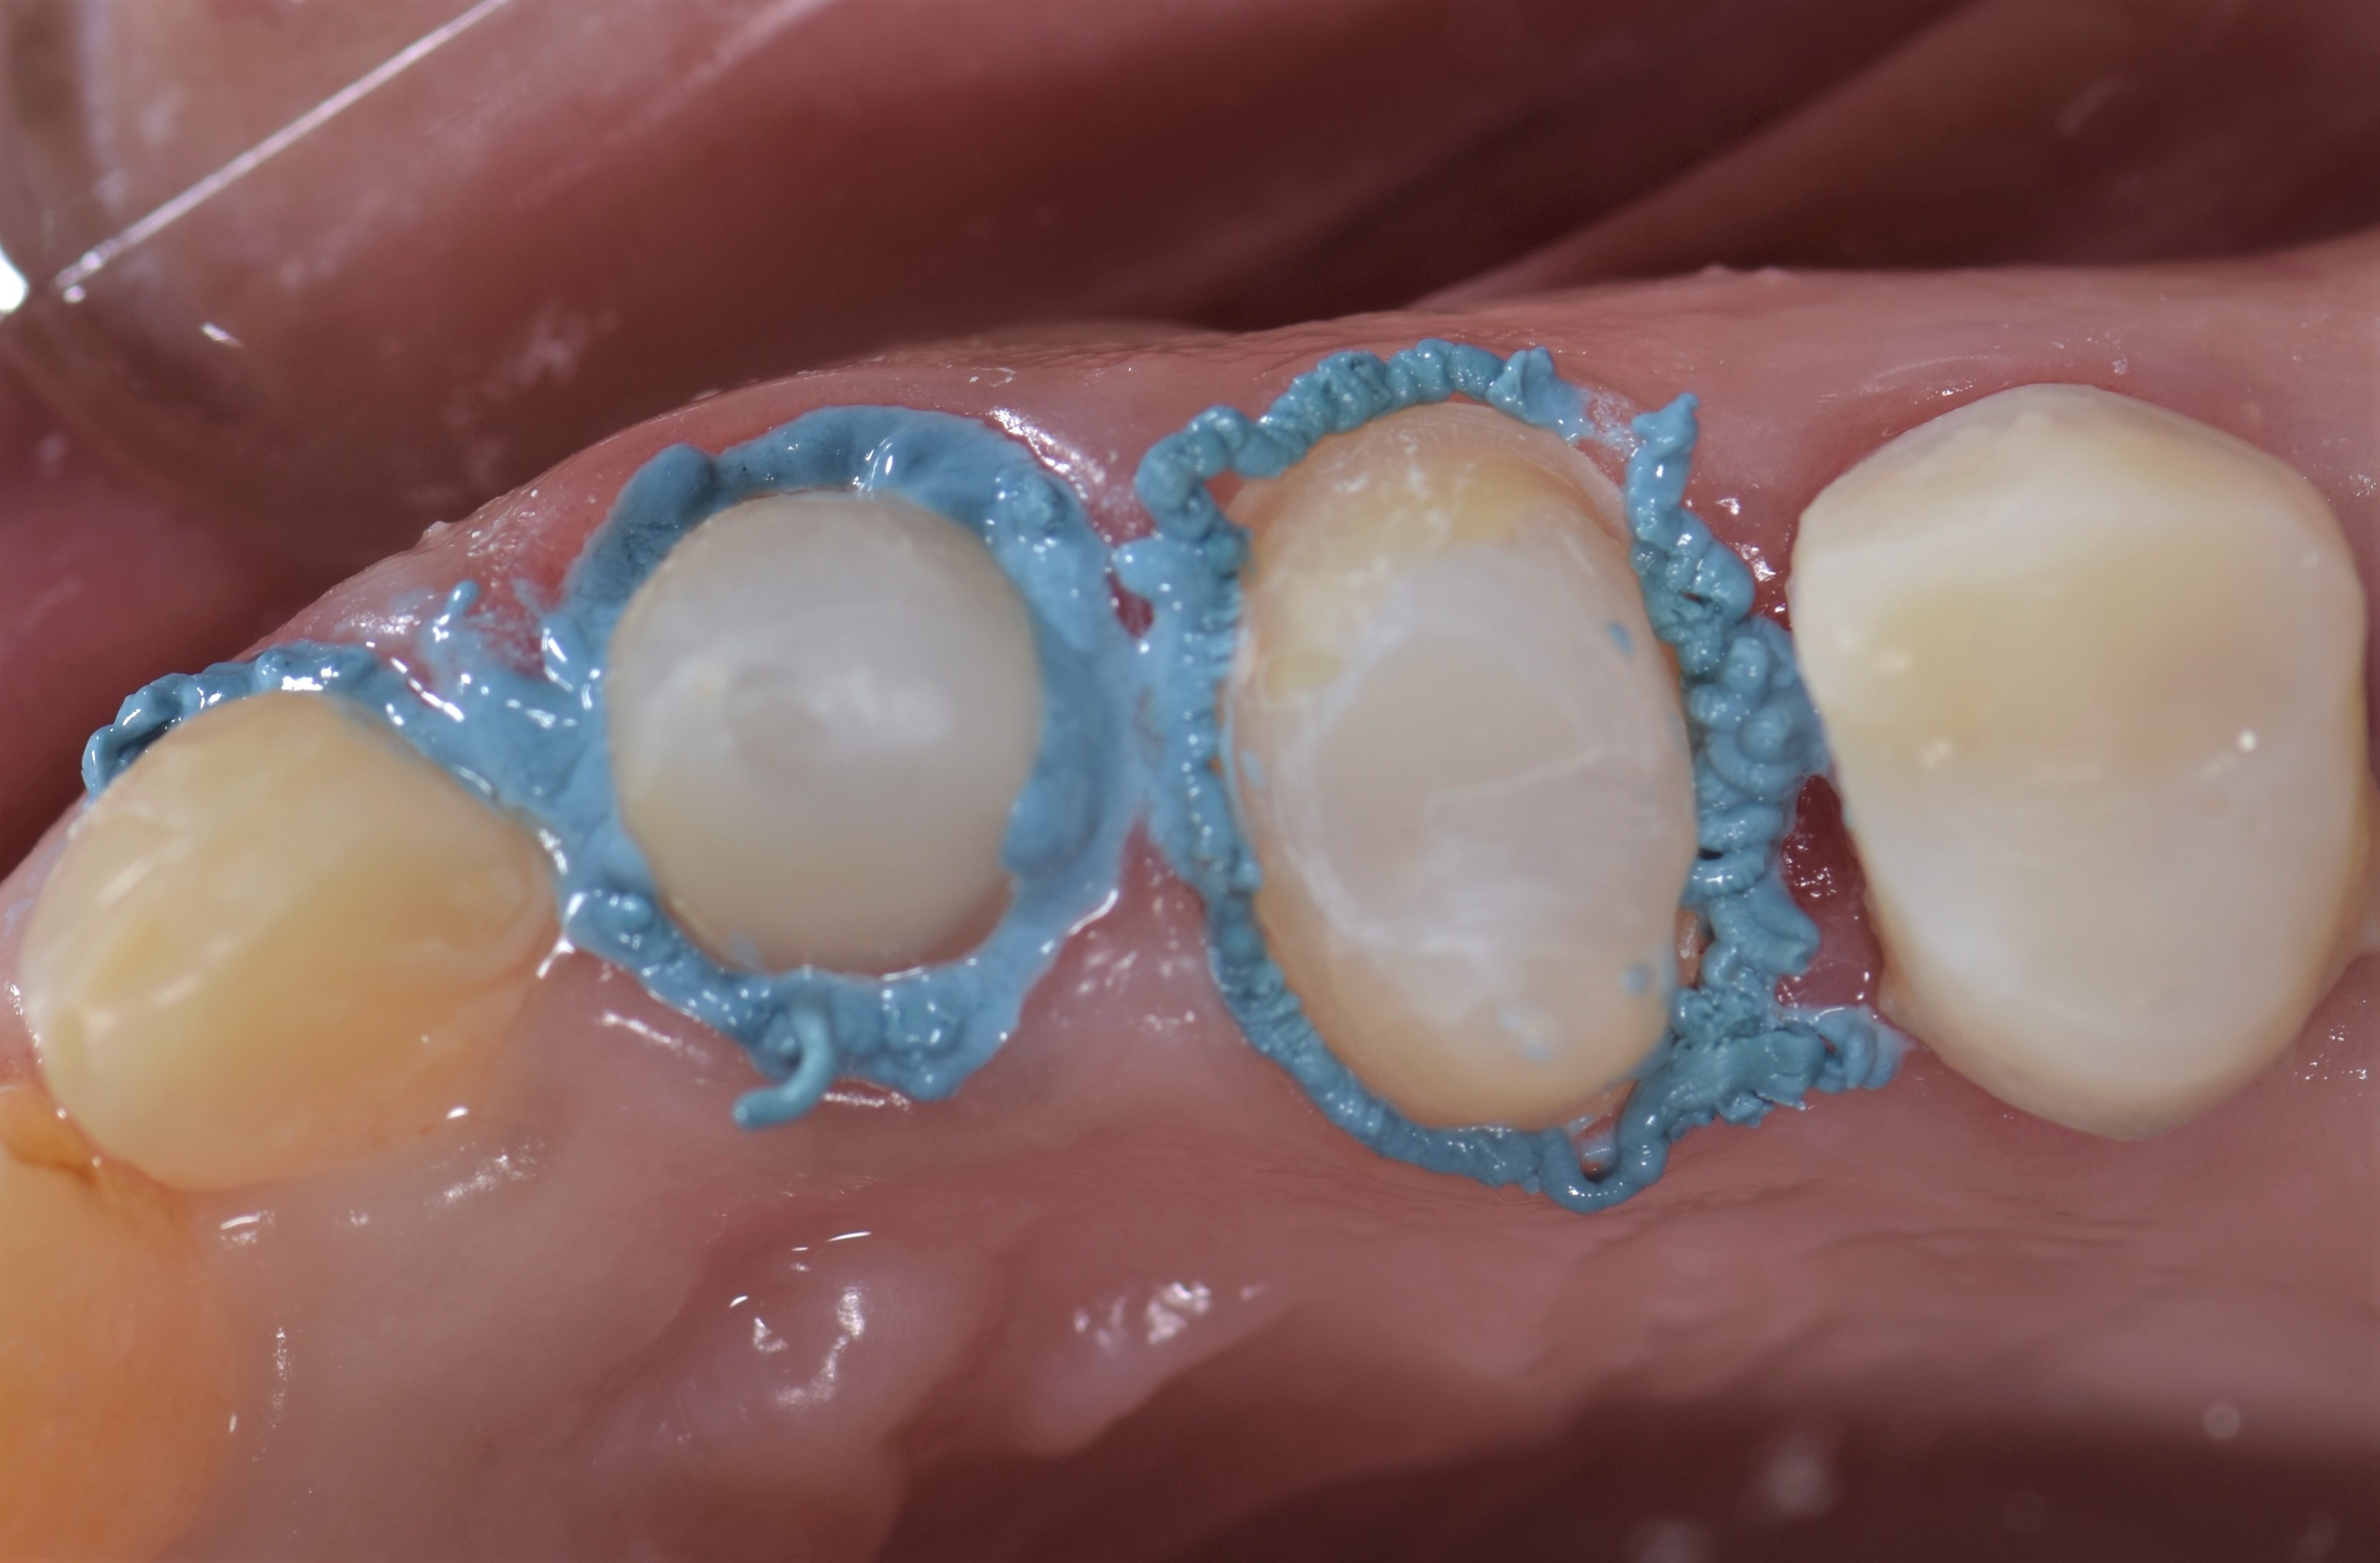
Sometimes it's not only one technique but maybe a combination of more than one technique to manage the tissue regarding recording a precise impression. I'm going a clinical case that I had to take the final impression the same visit because of a time issue related to the patient and there was no way to delay the impression for better tissue management. This is my way to manage such cases:
Implementation of an initial preparation and it is preferred to put the finish line away from the gingival margin at this time.
Application of astringent, 3M ESPE for 2-4 minutes to control bleeding.
Application of astringent for 2-4 minutes
Insertion of the smaller-sized retraction cord for initial tissue displacement.
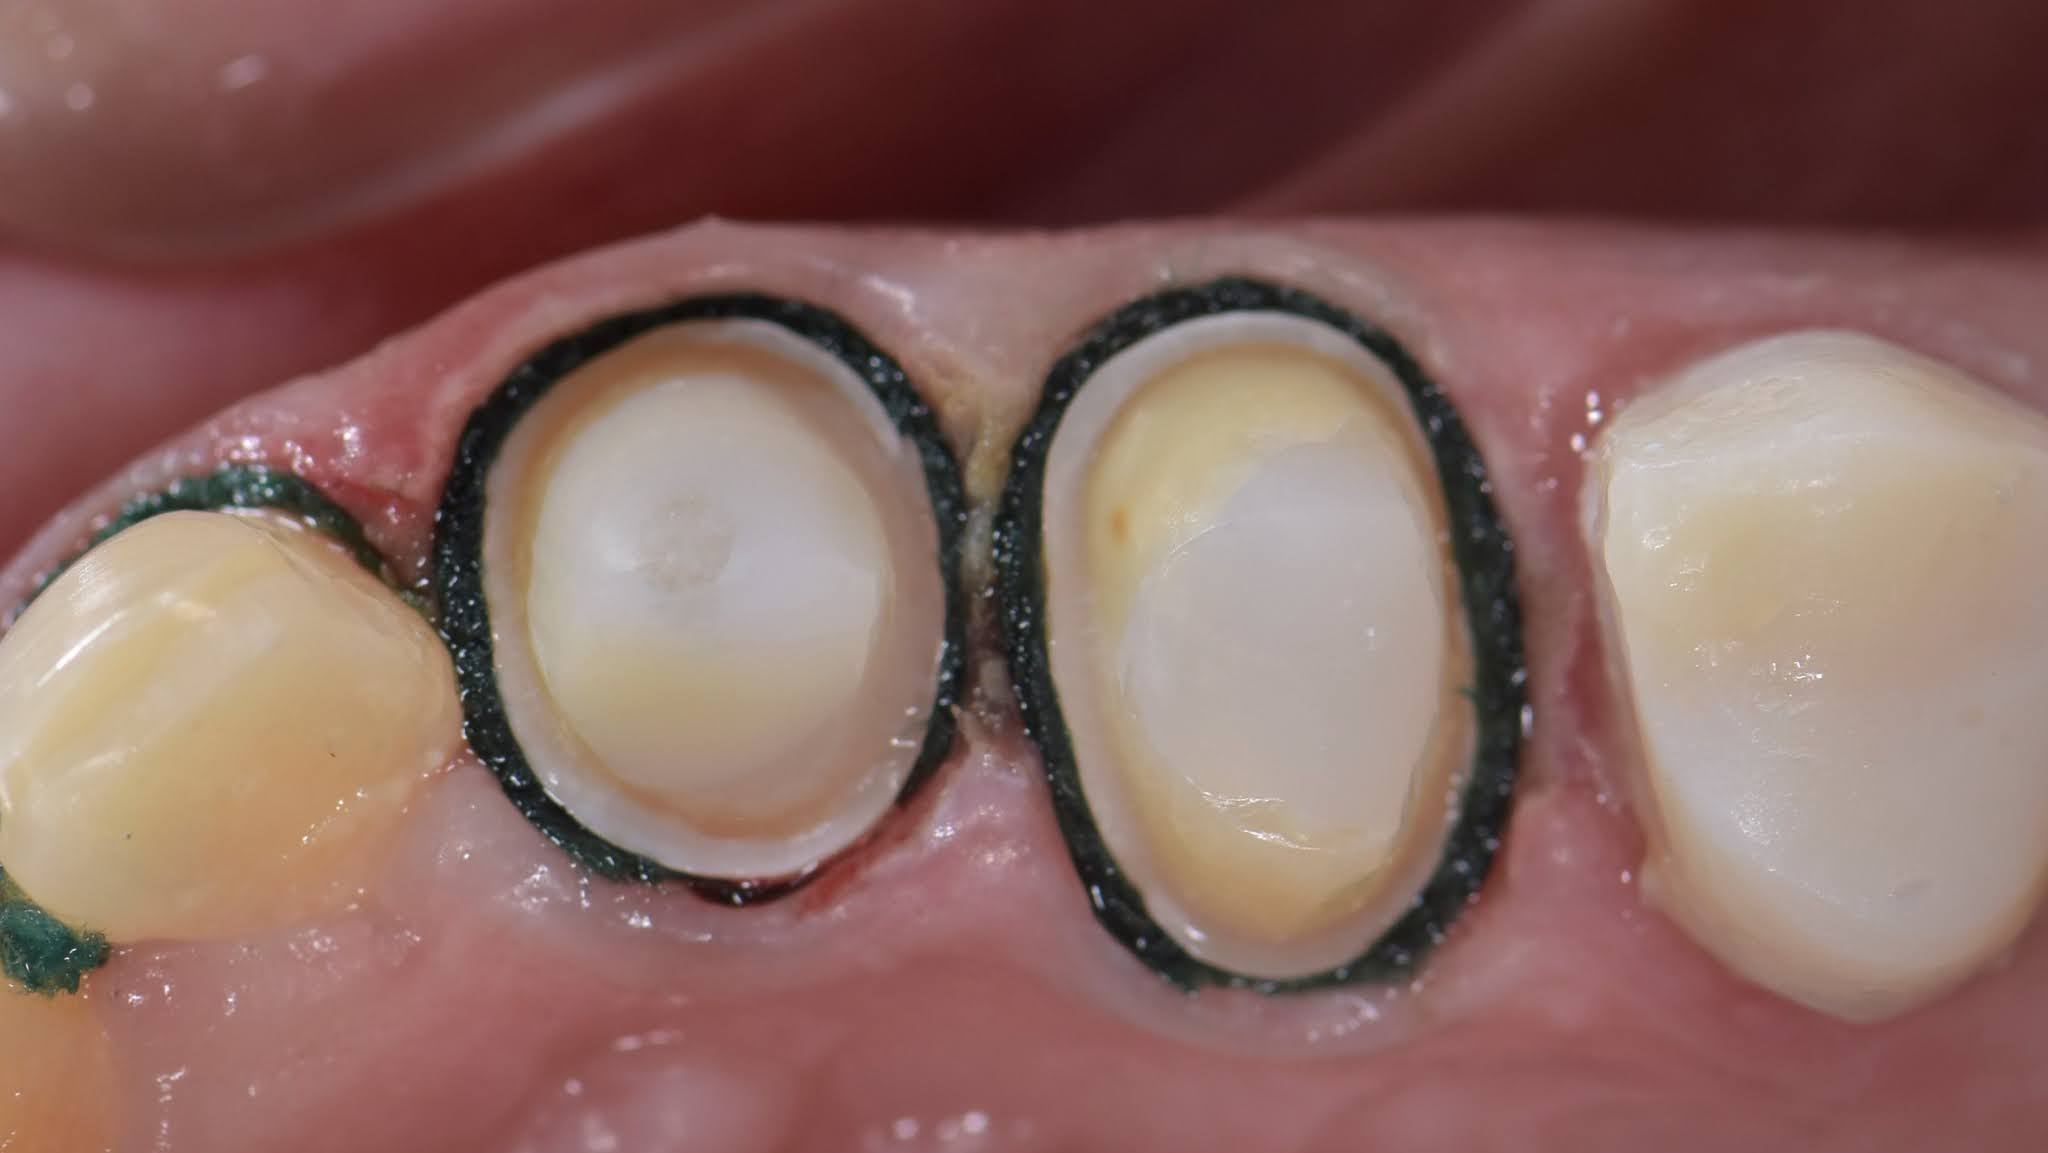
Bleeding control and gingival troughing using electrosurgery/diode laser.
Application of astringent, 3M ESPE again for 2-4 minutes to control bleeding.
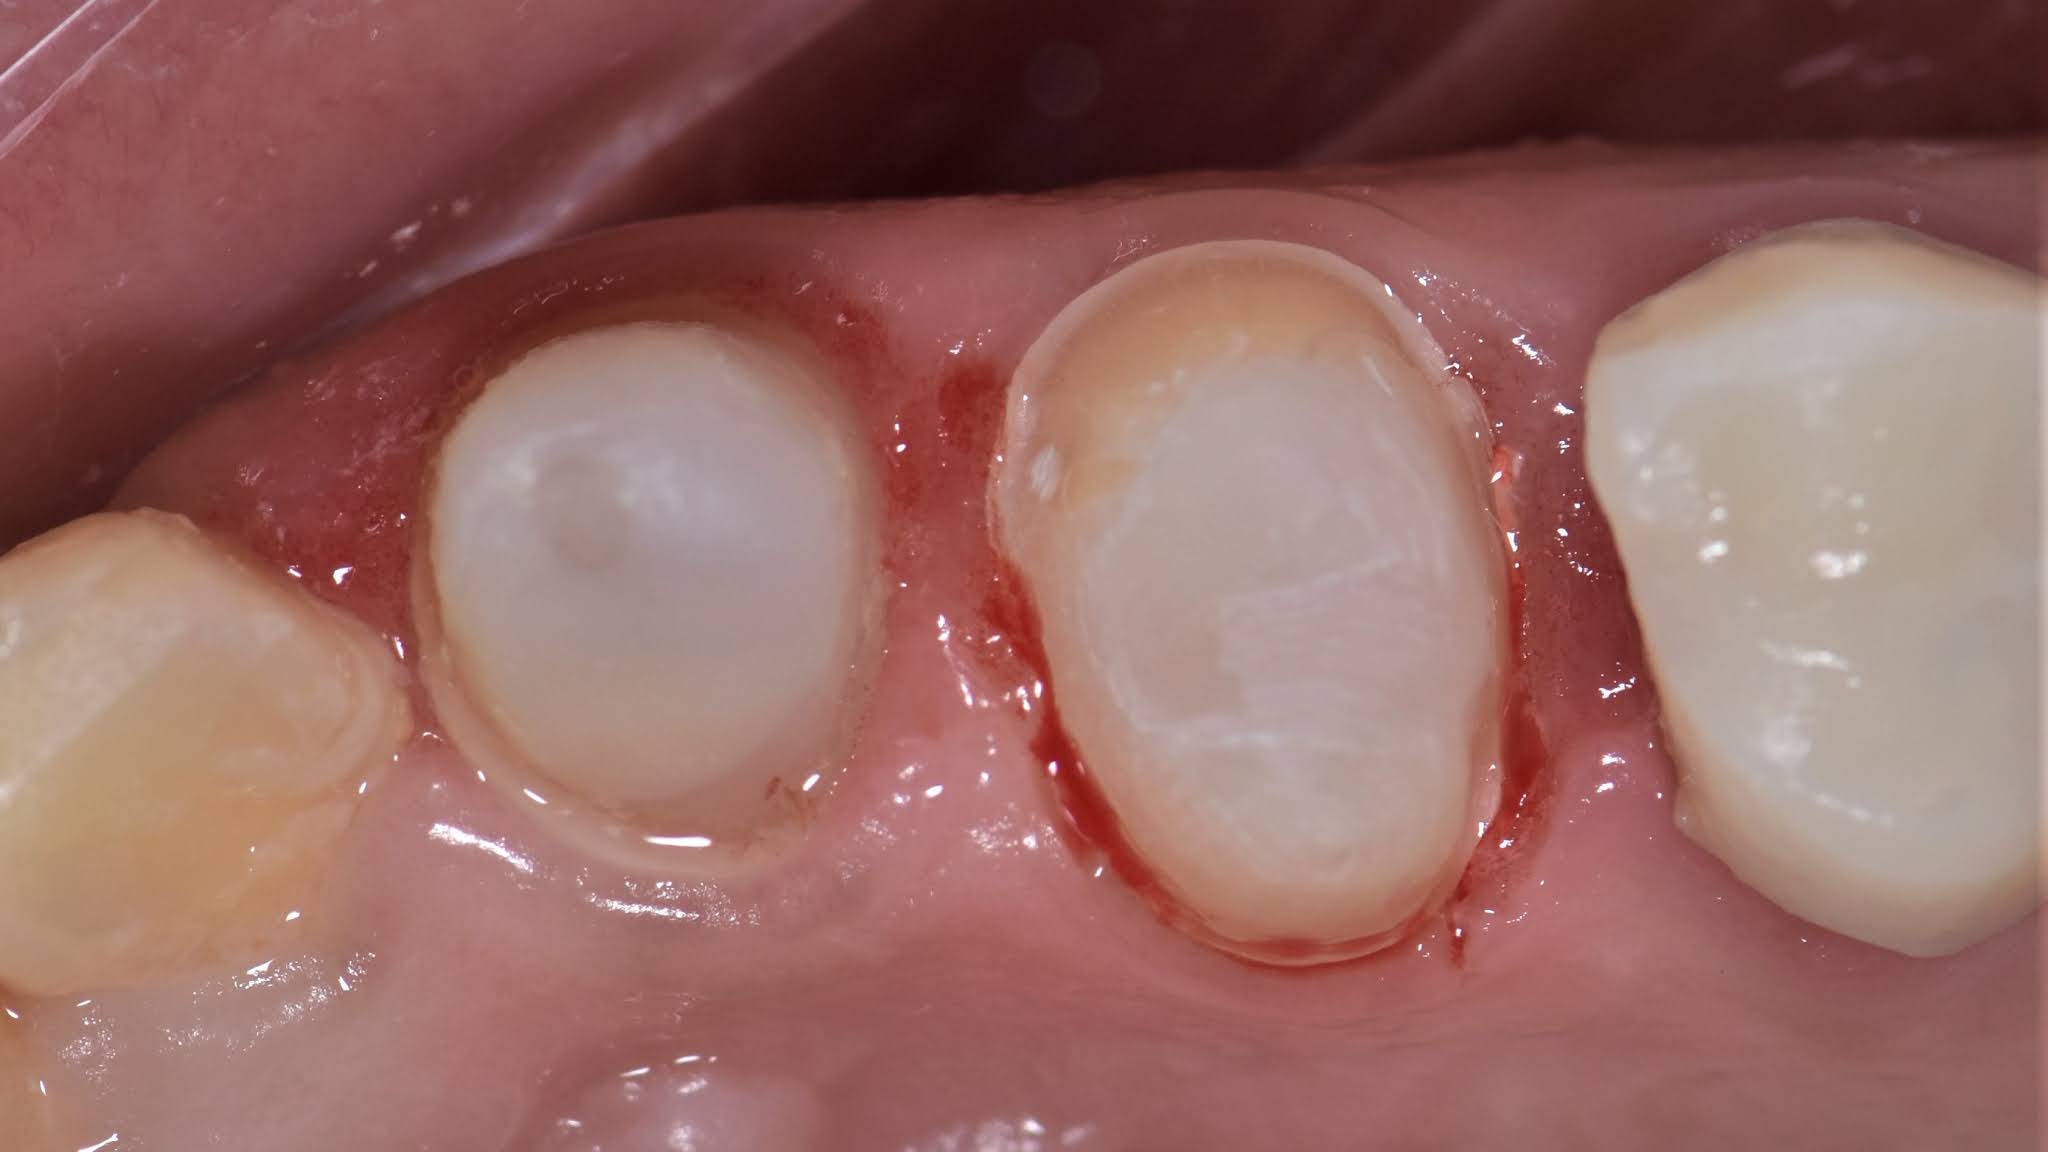
Finishing and adjusting the final position of the cervical margin and any residues of the retraction paste will be eliminated and the margin will be clean and visible.
Application of the larger-sized retraction cord for at least 10 minutes.
Removal of the larger and superficial cord with simultaneous injection of the light body impression material, while the smaller cord will be maintained inside the sulcus, and the air is applied to force the impression to record the sulcus details beyond the margin and prevent bubbles on such critical area.
* It doesn't matter if I'm using a single-step or a two-step impression technique. but this step has to be done as quickly as possible.
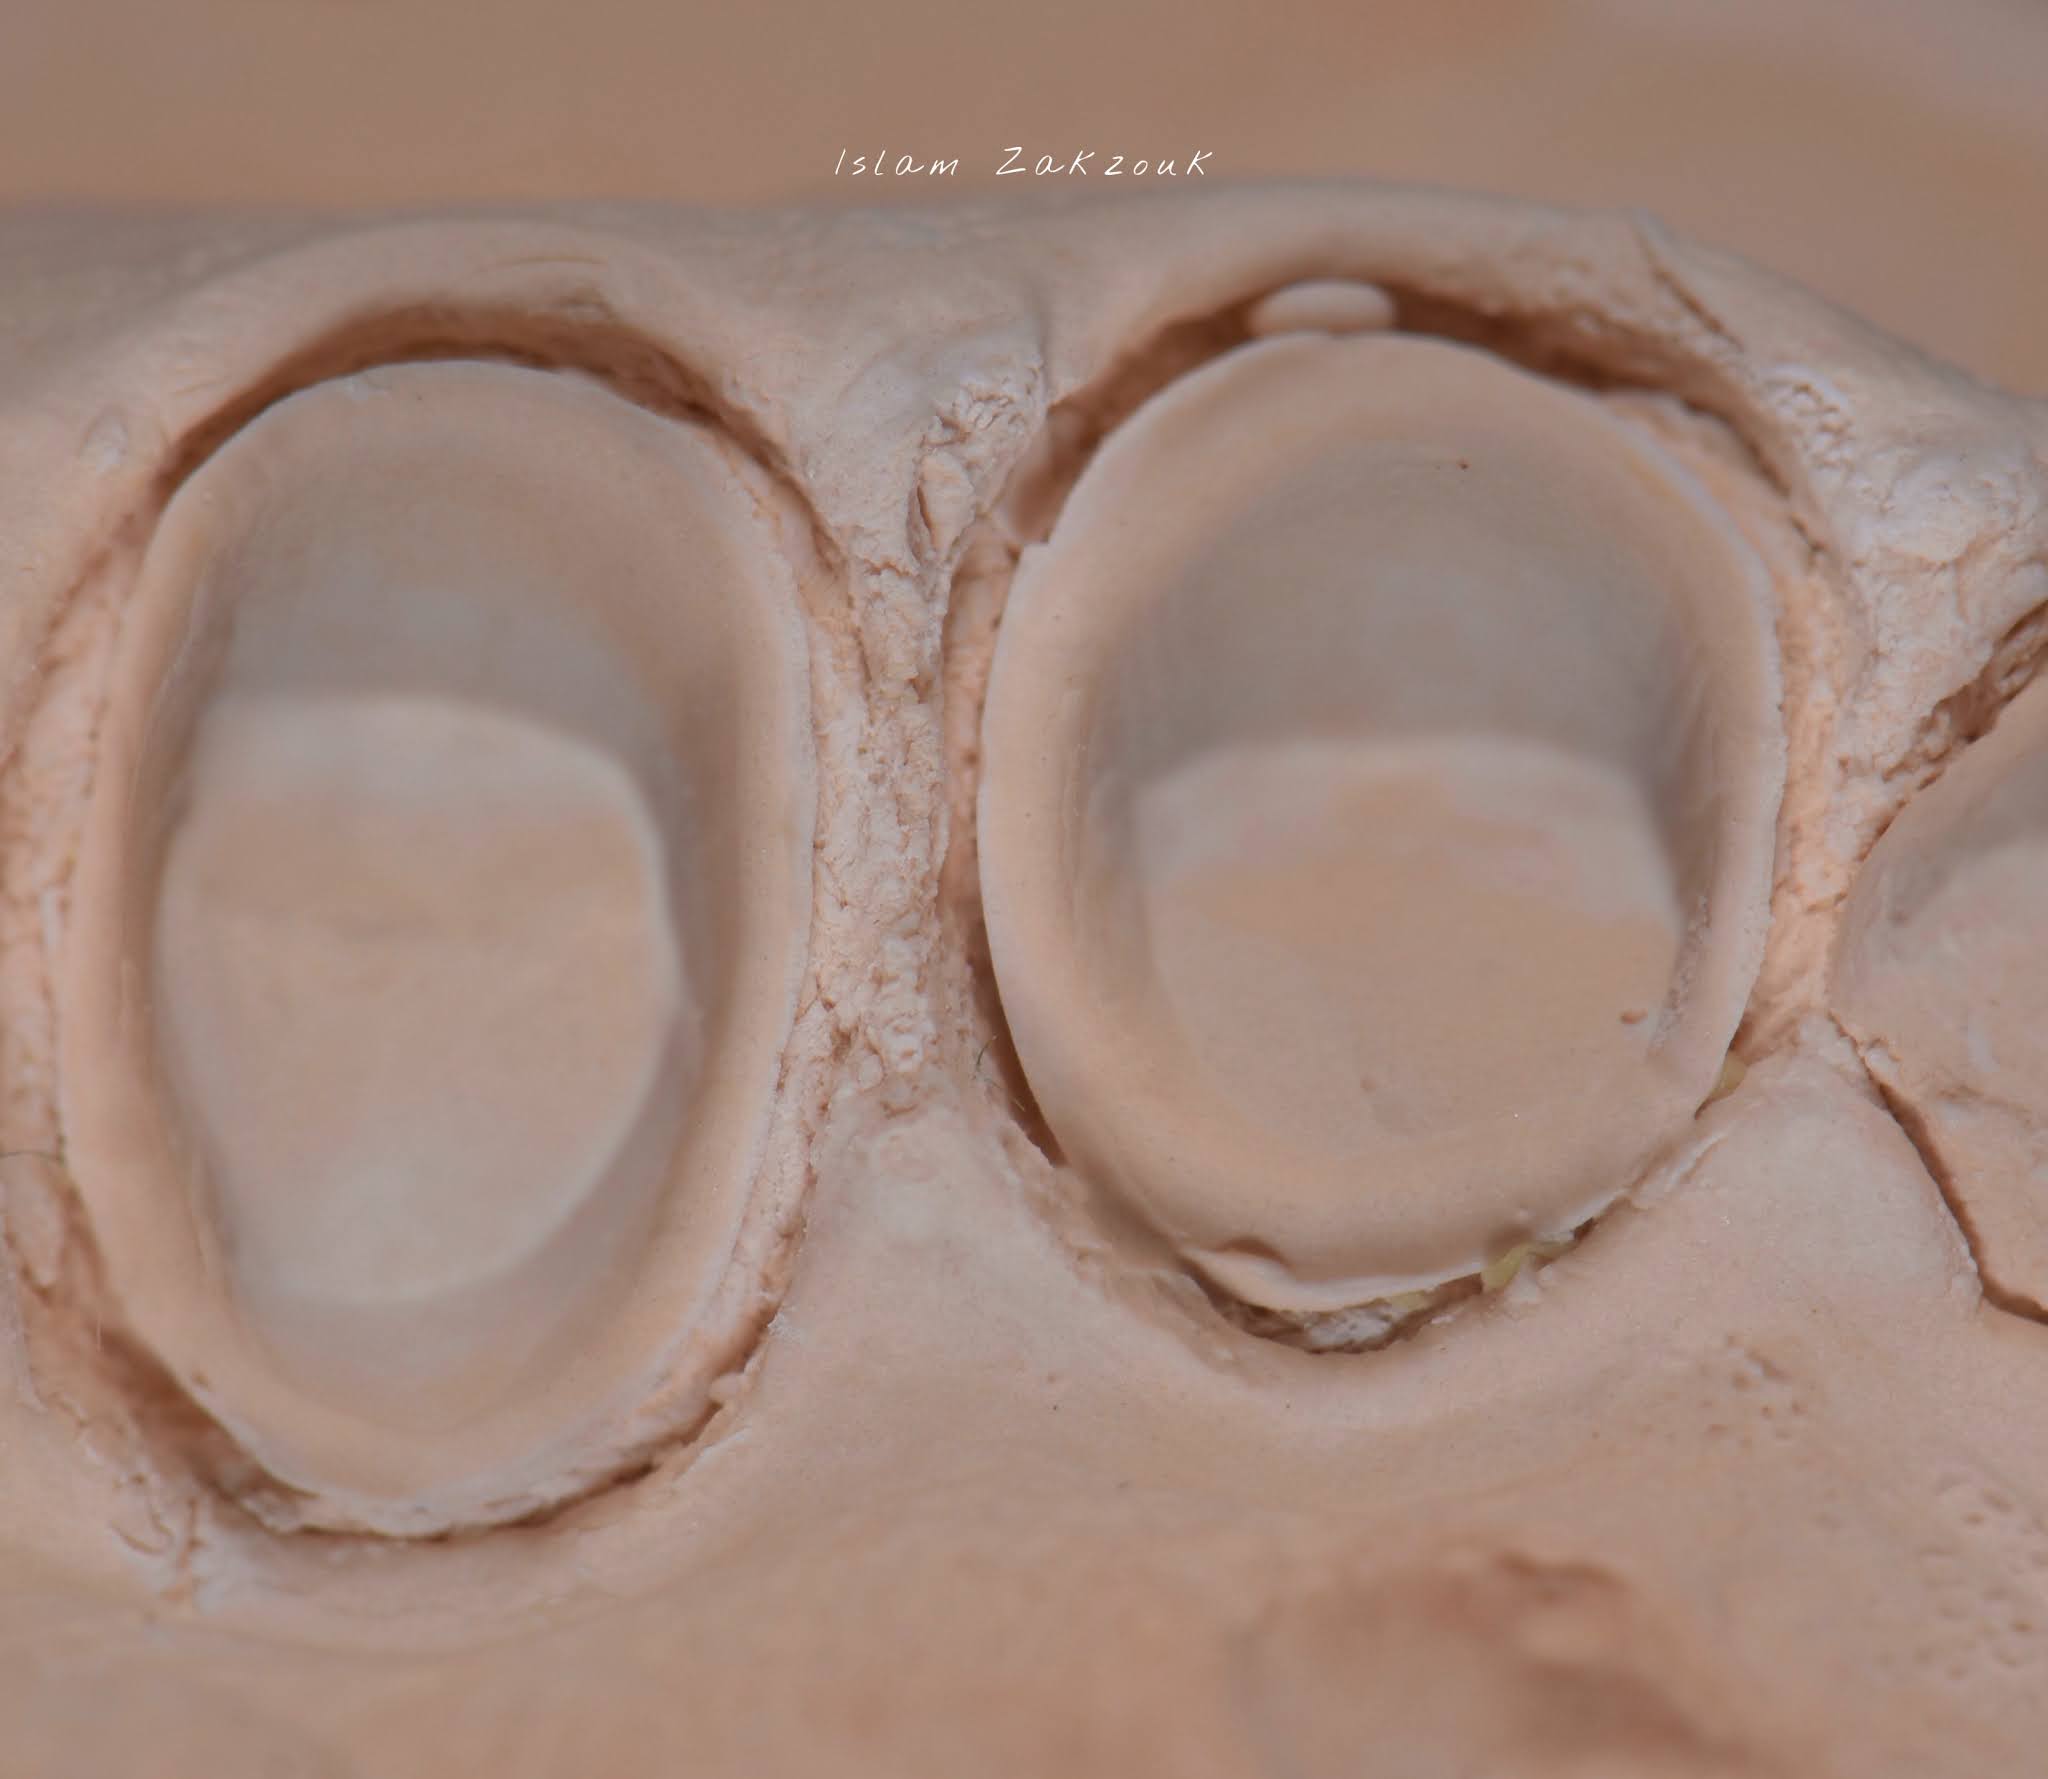
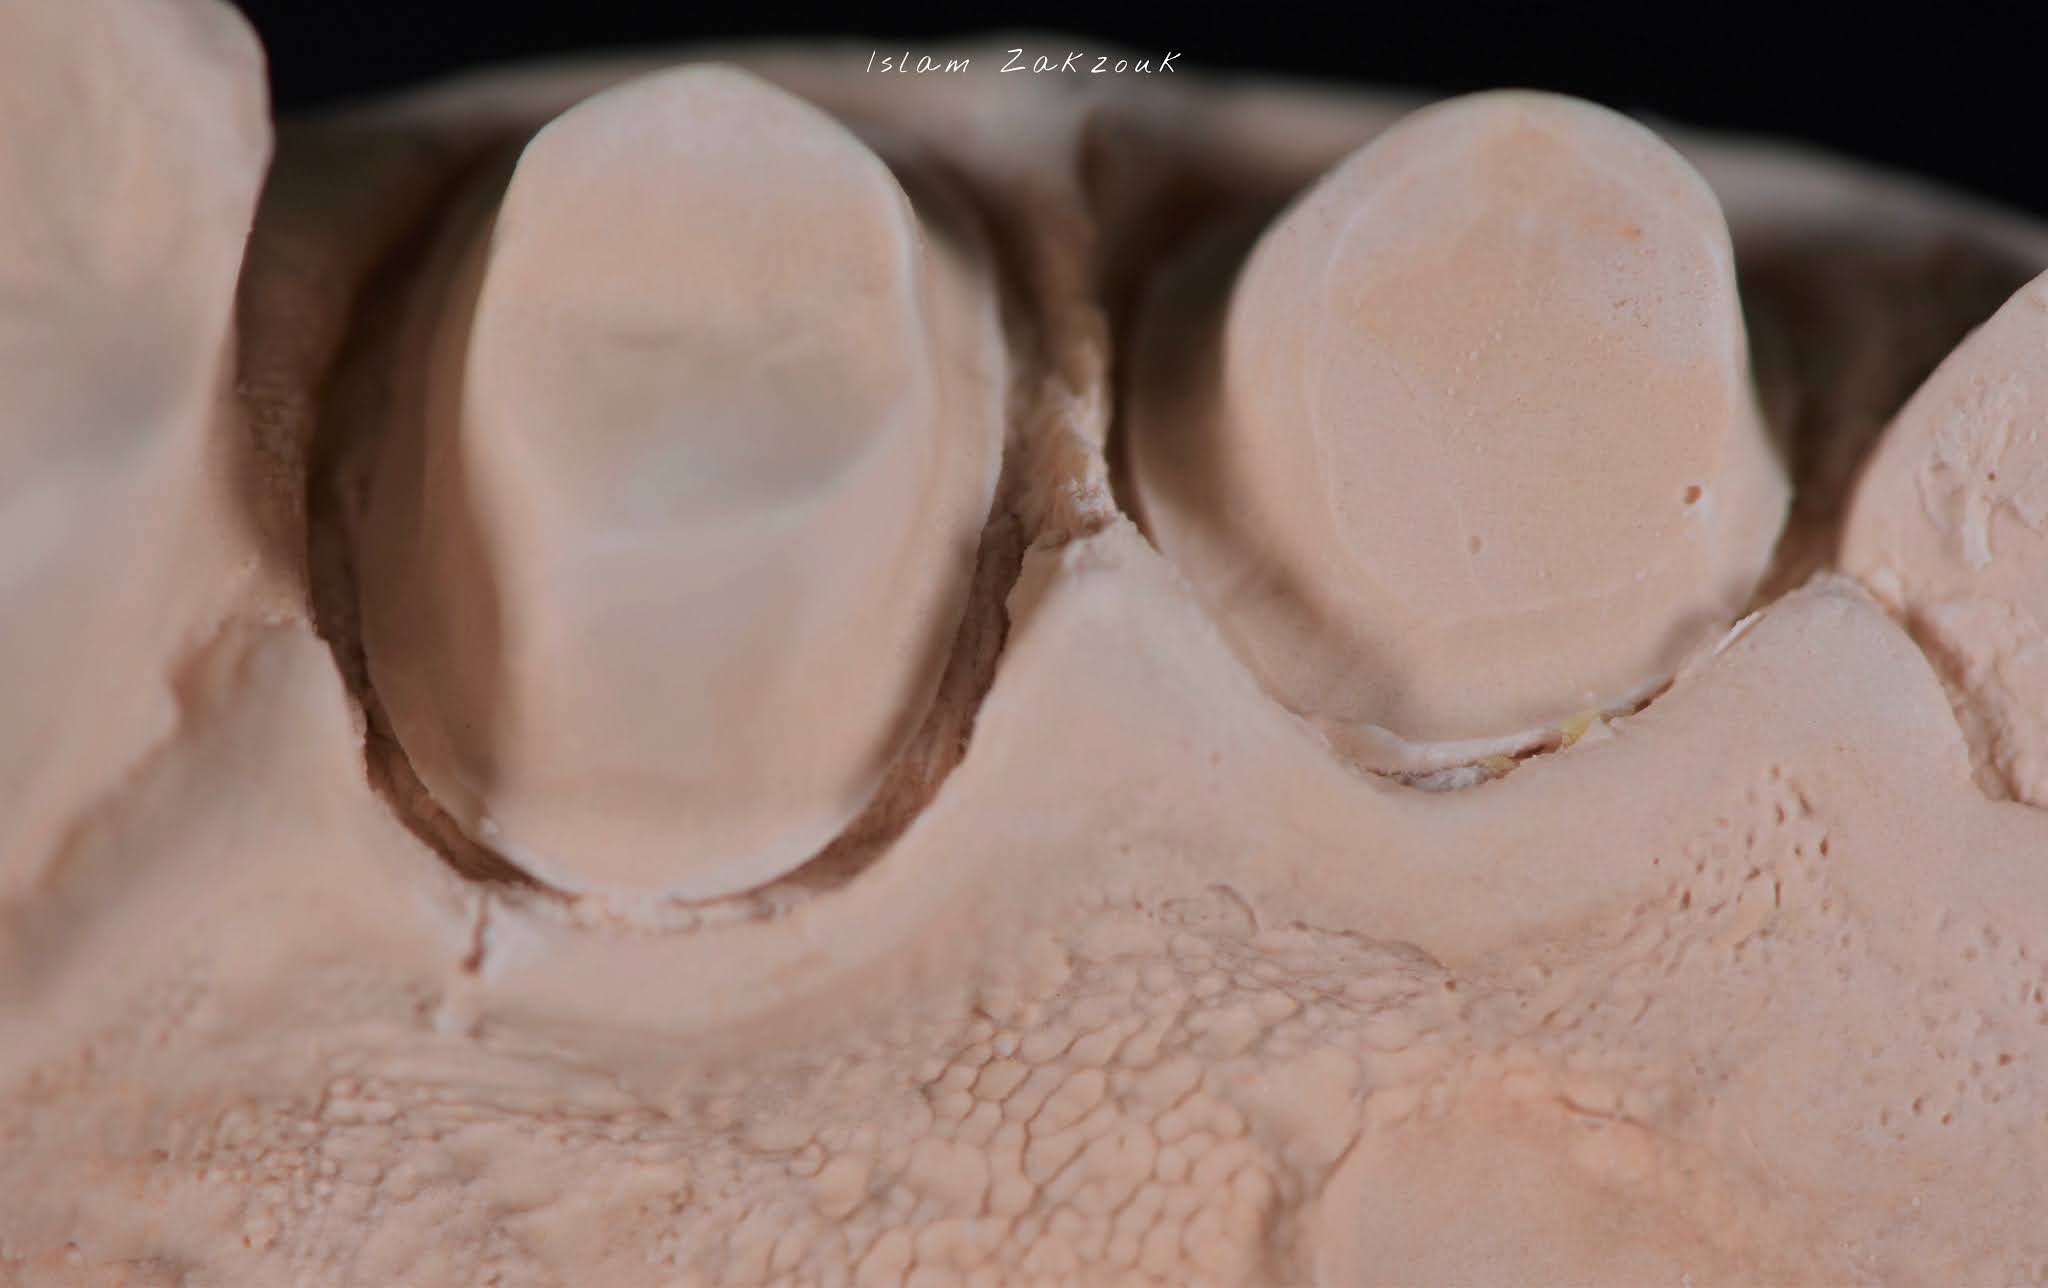
Immediately after pouring the impression.
Palatal view
Stay tuned for the upcoming post discussing tissue displacement techniques using retraction cords.
REFERENCE:
Esthetic and restorative dentistry, material selection and technique, third edition. Douglas A. Terry, Willi Geller
Share
Islam Zakzouk
DSefa is a blog that's dedicated to bringing you high quality health, lifestyle tutorial and resources on different categories. It's main forus on user experience.
No Comment to "
Clinical techniques for tissue management
"


No Comment to " Clinical techniques for tissue management "