Retraction cords.. Why? When? How?
To achieve low-trauma gingival displacement, the retraction cord technique is the most reliable and predictable regarding controlling gingival recession caused by impression.

There are several guidelines for predicting the post restorative gingival margin levels and the periodontal health after preparation, gingival retraction, and impression-taking. These guidelines should be considered during the diagnostic phase and before the restorative appointment because they can provide the patient with a stable and healthy periodontium after preparation, impression-taking, and placement of the restoration.

For a normal crest position, these two measurements for anterior teeth should be approximately 3 mm on the facial and 4 mm on the interproximal when adjacent teeth are present, and this relationship occurs in approximately 85% of patients.
When the depth of the osseous crest to the gingival margin is greater than these measurements, it is considered to be a low crest position, which occurs in approximately 13% of patients.
If the depths are less than these measurements, it is considered to be a high crest position, which occurs in 2% of patients.
In a normal osseous crest position, the gingival complex will return to a normal crest relationship after tissue manipulation and impression-taking. However, in a high crest relationship, traumatic manipulation and placement of subgingival preparation margins will position the definitive restoration too close to the osseous crest, creating a violation in biologic width. The low crest position with a thin biotype is considered the most unstable clinical situation and can result in the most variation in the final gingival position. For optimal restorative results, the low and high osseous crest positions should be identified in the diagnostic phase and corrected through osseous and/or orthodontic treatment before restorative treatment. In clinical situations where adjunctive therapy is not planned, careful and gentle manipulation during the impression-taking process is critical. During gingival displacement, therefore, the size and number of retraction cords should be modified according to the osseous crest position and tissue biotype. It is suggested to use a single-cord technique on high and low crest positions and a double-cord technique on normal crest positions.
Retraction cords

In prosthodontics, retraction cords are the most common method used to displace tissue for impression taking, and many different types of cords and chemical solutions are available. Most cords are made of various textile blends of wool, silk, cotton, and synthetic fibers, which are twisted, braided, or knitted together. Cords also can be distinguished as either soft or compact. Soft cords are easy to position and have a high capacity for absorbing gingival fluids or chemical solutions, but they can break easily during positioning and removal and disintegrate when in contact with retraction fluids. Compact cords provide better horizontal displacement, exhibit minimal degeneration from retraction fluids, and are less prone to breaking, but they are difficult to position and absorb minimal gingival or retraction fluids.
Twisted cords are the oldest type of cord used in dentistry; these are composed of two or three threads twisted together. Twisted cords are easy to insert, and larger cords can be separated into two smaller ones. However, the threads come apart easily during positioning and can get tangled in the rotating bur during preparation.
The braided cords are woven so tightly that it is impossible to separate the threads. These cords are very stable, remain intact during positioning, do not get tangled or torn by rotating diamond burs, and come in two varieties: solid core and hollow core. Cords with a solid core exhibit greater volume and more horizontal retraction, but they are stiffer and more difficult to insert. Cords with hollow cores have greater flexibility and are easier to position, but they are less voluminous and exhibit less horizontal displacement.
The knitted cords are knitted together without a central thread. They are easily compressed, do not break, hold the chemical solutions 2.5 times longer than other kinds of cords, and do not get tangled in rotating diamond burs during preparation. However, they are easily cut during preparation and, because they are more easily compressed, offer a less gingival retraction.
Retraction procedures
"Mechanical techniques"
Although the cord-positioning procedure is the same regardless of cord type, retraction cords can be used in single-cord, selective double-cord, or double-cord approaches.
The single-cord technique generally requires a cord of the smallest diameter (no. 000 or 00). For cord insertion, the clinician uses a manual instrument with a thickness to suit the cord type (twisted, braided, or knitted). In the authors' view, cord placement can be accomplished using a composite spatula or other tool and does not require the purchase of expensive, specially designed instruments. Using an instrument compatible with the cord type, the clinician begins by gently inserting the cord in the interproximal zone. The greater quantity of gingival tissue found in the interproximal zone makes it more favorable than the buccal area for starting cord placement. The cord is inserted using a single spatula or two spatulas at the same time (the bimanual technique). The clinician must not push too hard, as this could result in placing the cord too deep. After the first part of the cord is positioned, the clinician must work along the buccal zone. toward the initial point of insertion. If the clinician begins working away from the initial point of insertion, the portion of the cord already in place tends to shift. After inserting the cord along the buccal zone, the ends should be inserted in the palatal area, where overlaps are better tolerated.
Some authors recommend that when using the single-cord technique, the cord be removed immediately before taking the impression. This technique, however, should be avoided, because once the cord is removed, the sulcus tends to close immediately, preventing the penetration of the impression material. Cord removal also can result in bleeding. The clinician must keep the cord in place throughout the operative stages, from repositioning and completing the finish line to taking the impression. The cord must retract the gingiva enough to expose a portion of the unprepared tooth lying beyond the finish line, without interference from the soft tissue. If the gingiva is not retracted sufficiently, the impression material will not properly record the finish line preparation and intact tooth.
The selective double-cord technique involves inserting small pieces of a cord of equal or greater diameter (no. 0, 1, or 2) in the interproximal area directly over the first cord, to further displace the papillae. This method of selective horizontal displacement facilitates impression taking without involving the delicate buccal tissues. Only the pieces of the cord will be removed immediately before taking the impression leaving the smaller cord inside the sulcus.
The double-cord technique requires the insertion of the second cord of equal or greater diameter (no. 0, 1, or 2) directly over the first cord to obtain the horizontal retraction for the entire circumference of the prepared tooth. The second cord is removed just before the impression is taken, while the first cord is left in place. In the first 20 seconds after cord removal, the horizontal displacement of the soft tissue is reduced by 35%, and in the subsequent 20 seconds, another 18% of the displacement space is lost. The speed at which the impression material is inserted after the second retraction cord is removed is therefore critical.
However, in the authors' experience, a second retraction cord must never be used during tooth preparation and positioning of the finish line because of the serious risk of a gingival recession. Thus, choosing a technique depends on which instruments are used for the finish line positioning and which impression materials are used.
During tooth preparation, the clinician must never lose the points of reference, especially of the gingival margin, when using rotating instruments for primary tooth reduction, the clinician must avoid accidentally touching or damaging the gingiva in order to keep the tissue intact and free of bleeding.
Above all, the retraction cords must be placed, no matter how temporarily, only after the guide groove and finish line position have been defined.
If the clinician repositions the finish line with oscillating instruments to minimize gingival damage, and if a continuous jet of water and air is used to prevent overheating, the ideal horizontal displacement can be obtained mechanically. Impression material can subsequently be injected into the sulcus without requiring a second retraction cord. If, after repositioning and completing the finish line with rounded chisels, the first retraction cord (which was positioned 0.2 or 0.3 mm apical to the finish line) is not visible, the clinician may need additional horizontal displacement.
Localized displacement can be accomplished manually by retracting the gingival tissue with the spatula used to position the cords immediately prior to inserting the impression material.
- Implementation of initial preparation and it is preferred to put the finish line away from the gingival margin at this time.

- Application of astringent, 3M ESPE for 2-4 minutes to control bleeding.
Application of astringent for 2-4 minutes 
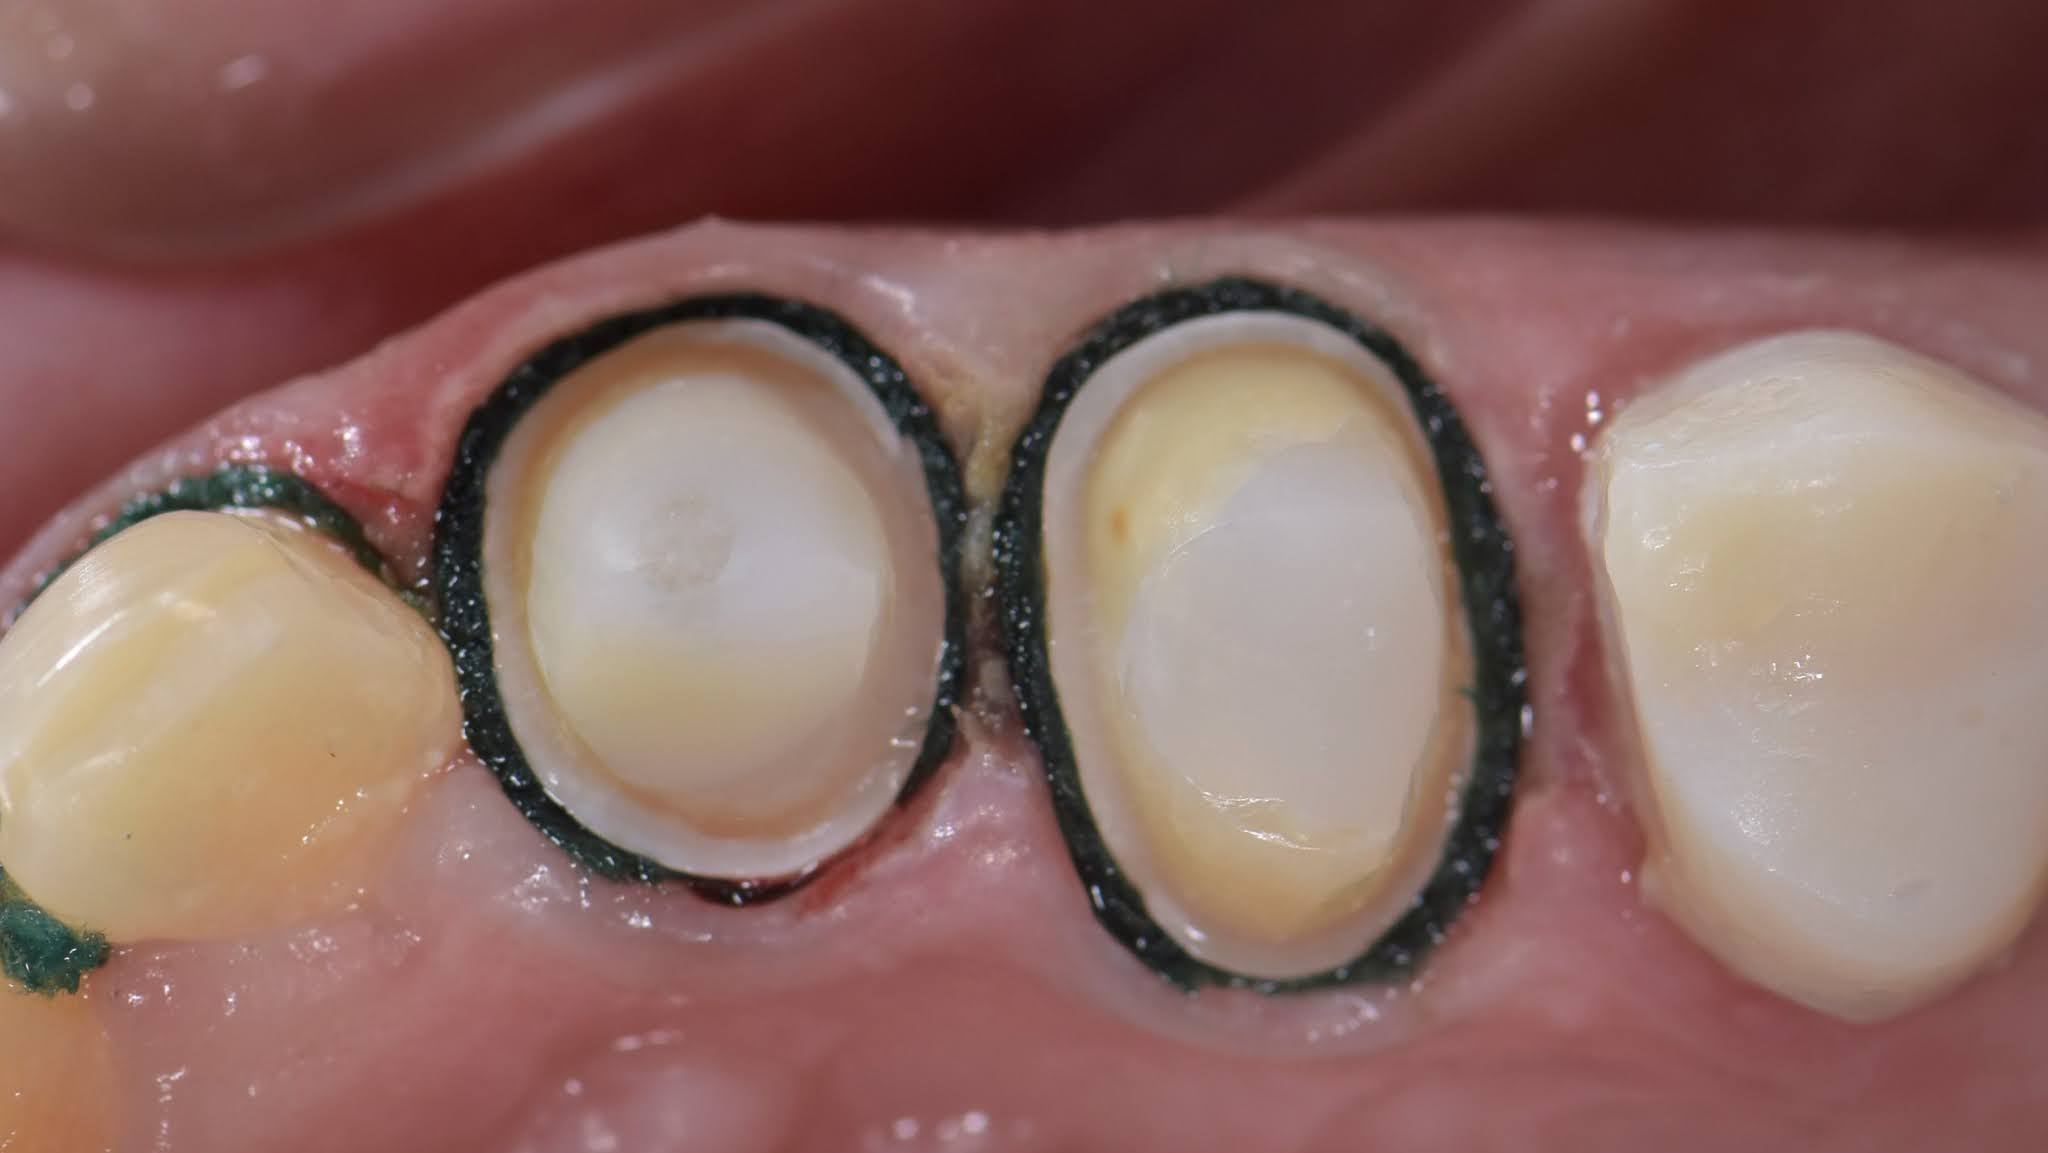
- Insertion of the smaller-sized retraction cord for initial tissue displacement.

- Bleeding control and gingival troughing using electrosurgery/diode laser.
- Application of astringent, 3M ESPE again for 2-4 minutes to control bleeding.
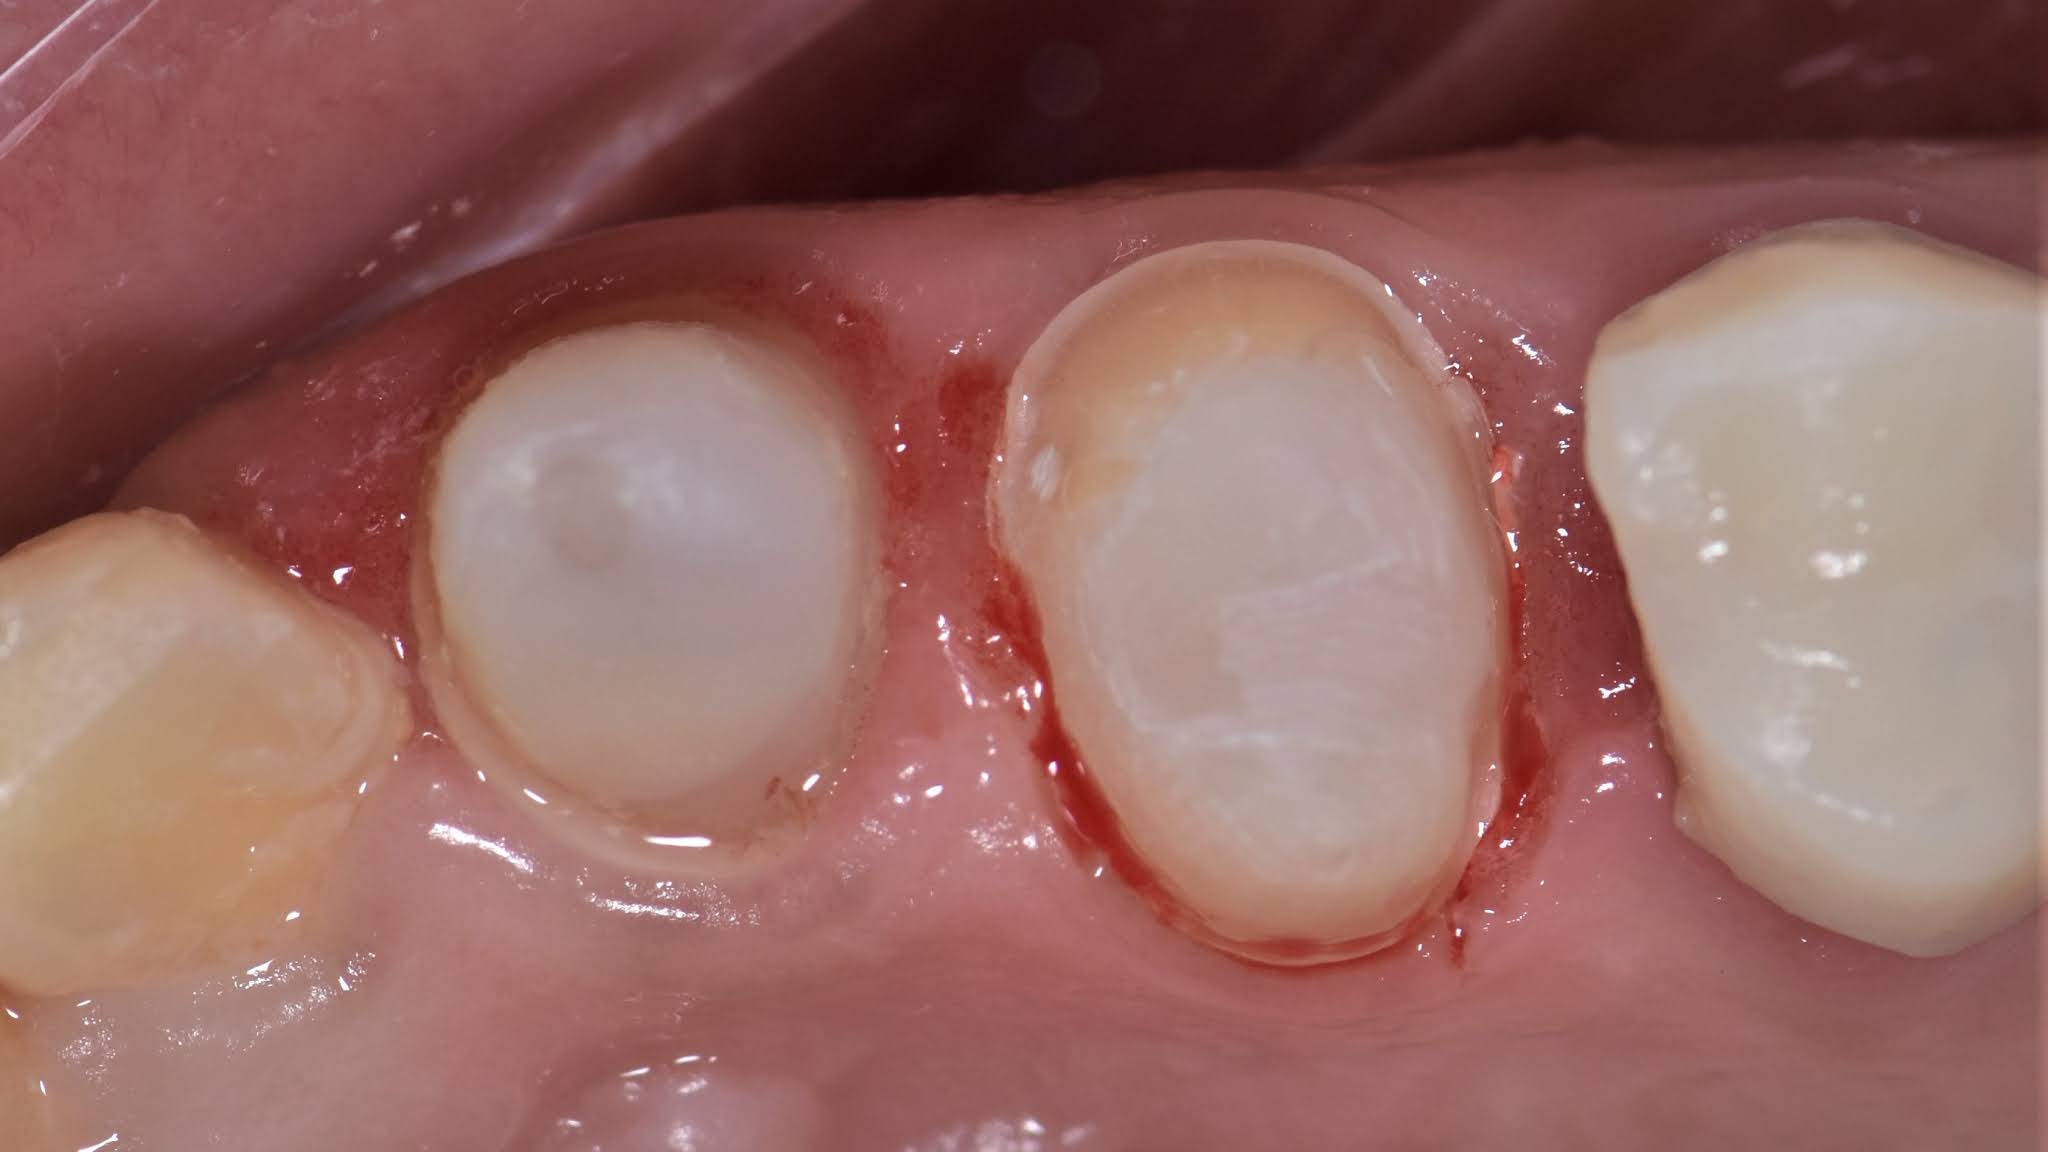
- Finishing and adjusting the final position of the cervical margin and any residues of the retraction paste will be eliminated and the margin will be clean and visible.
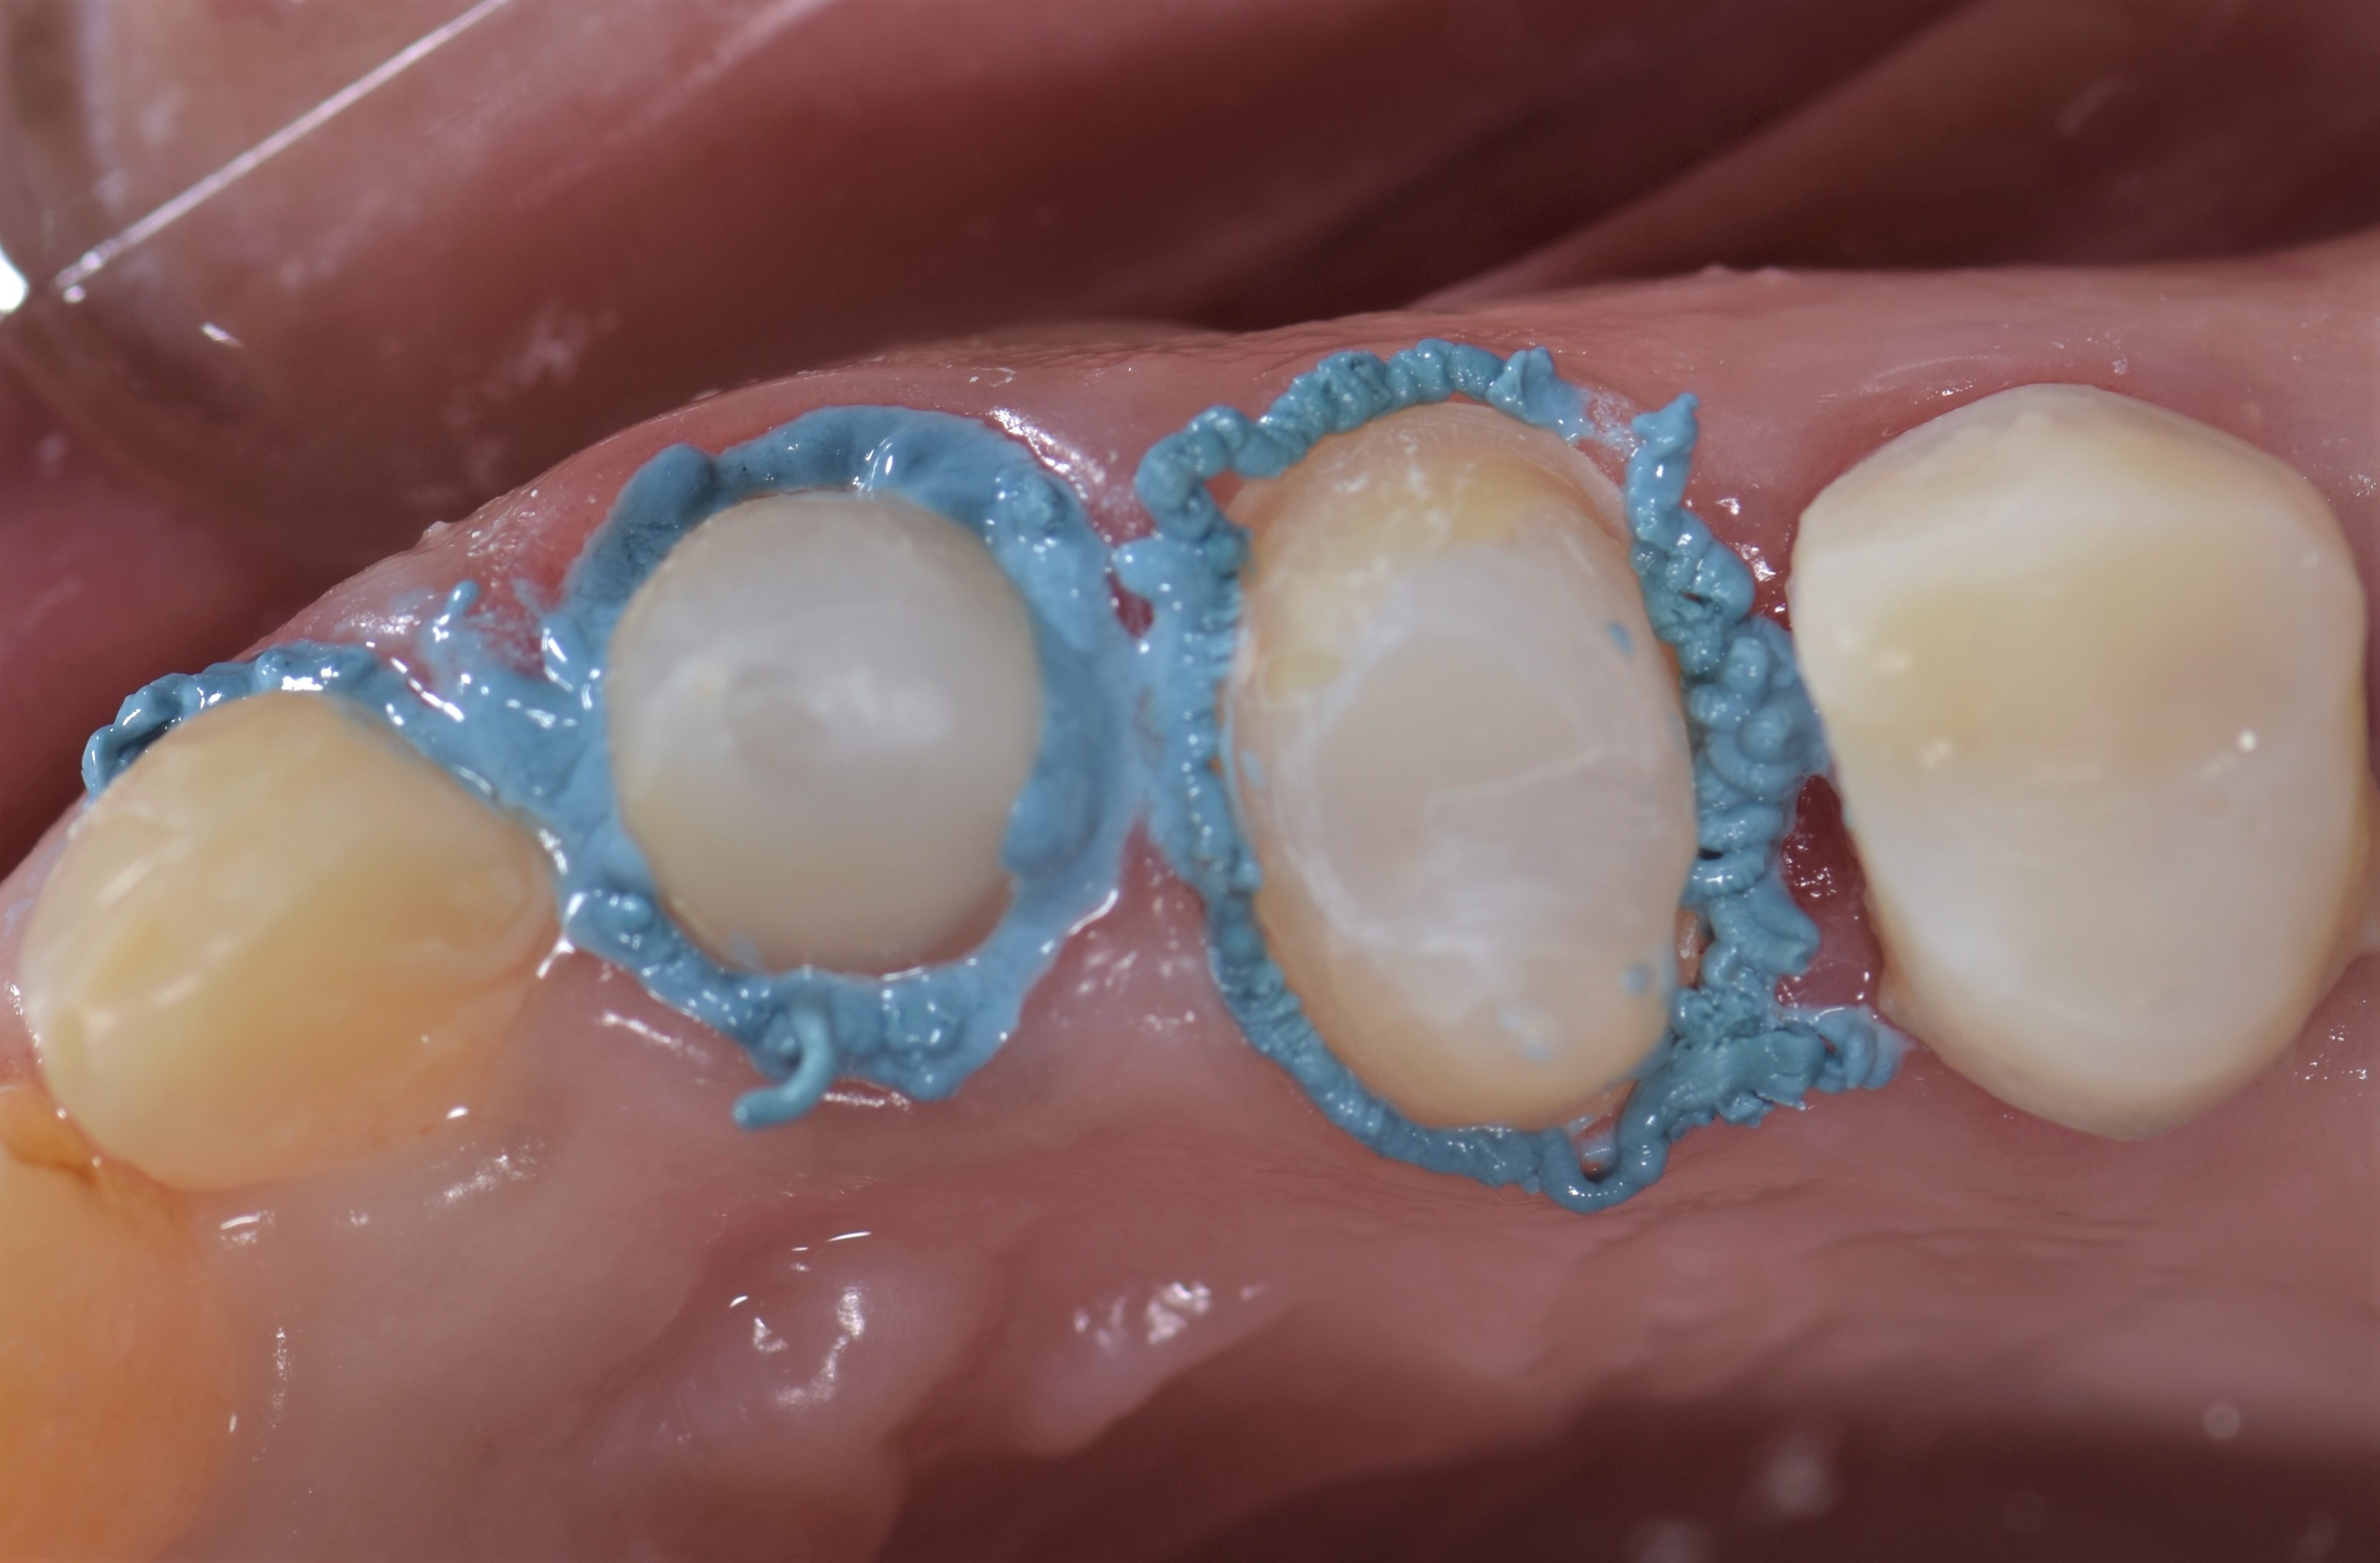
- Application of the larger-sized retraction cord for at least 10 minutes.


- Removal of the larger and superficial cord with simultaneous injection of the light body impression material, while the smaller cord will be maintained inside the sulcus, and the air is applied to force the impression to record the sulcus details beyond the margin and prevent bubbles on such critical area.
* It doesn't matter if I'm using a single-step or a two-step impression technique. but this step has to be done as quickly as possible.

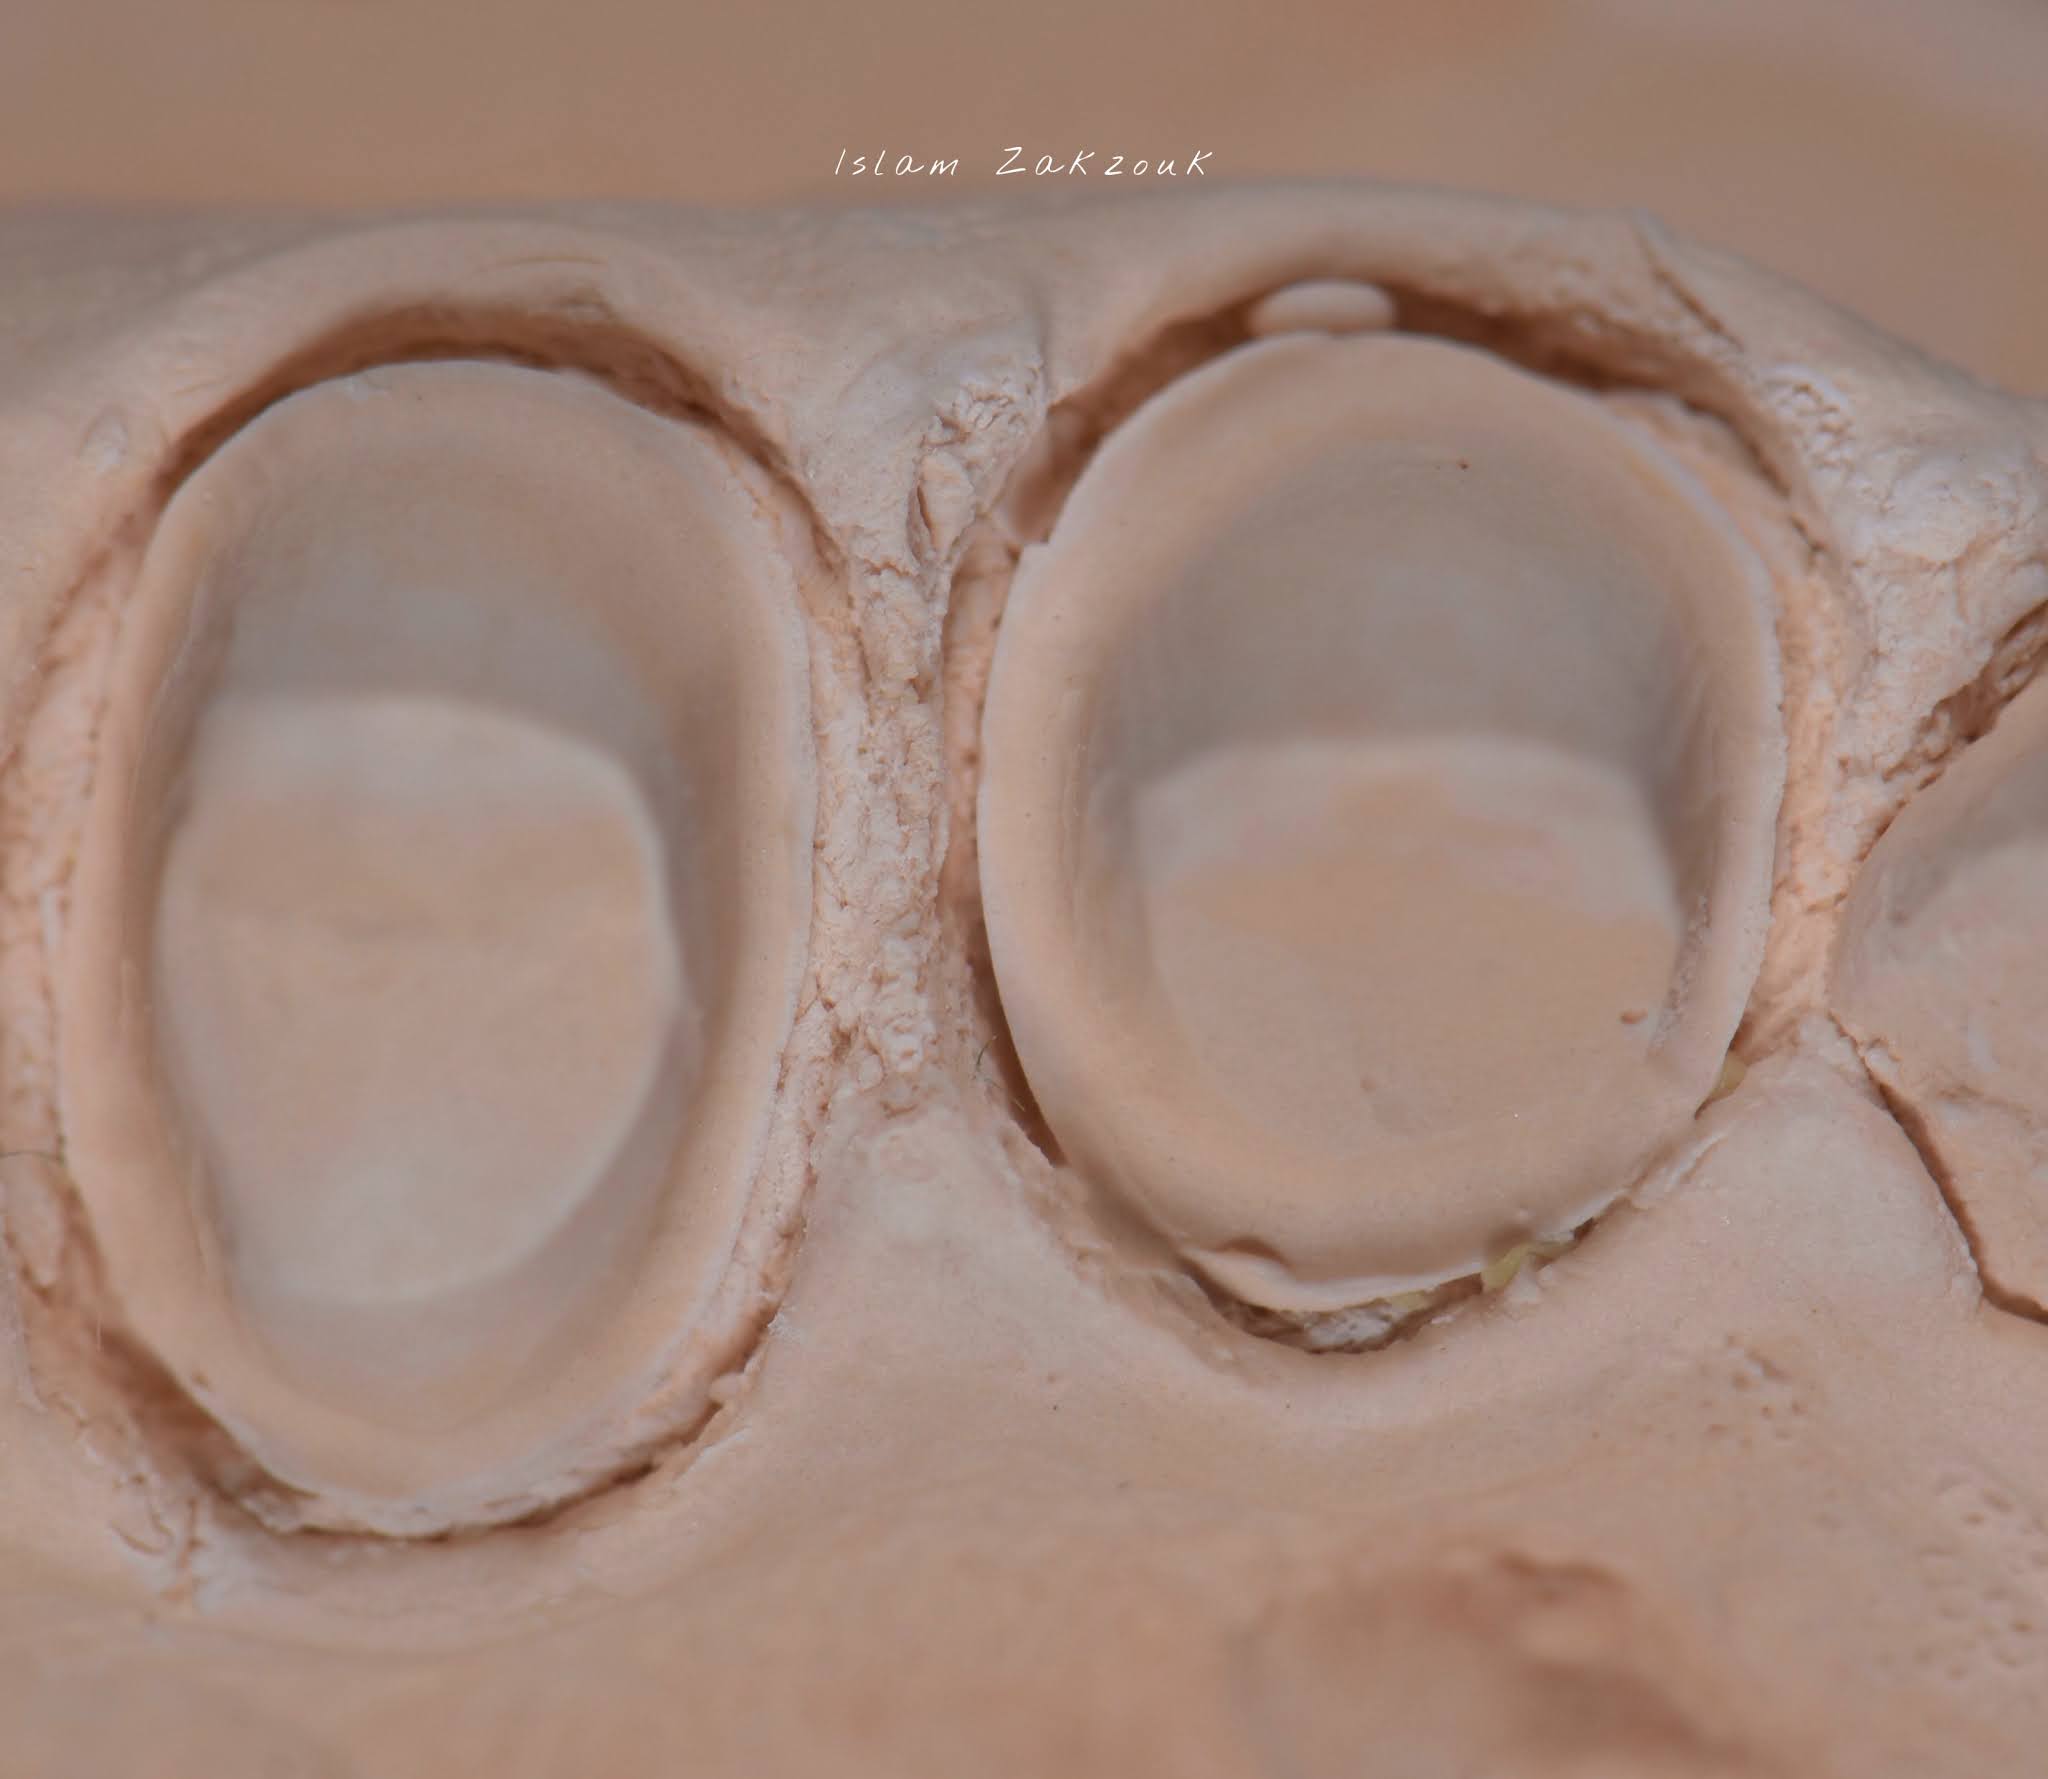
- Immediately after pouring the impression.


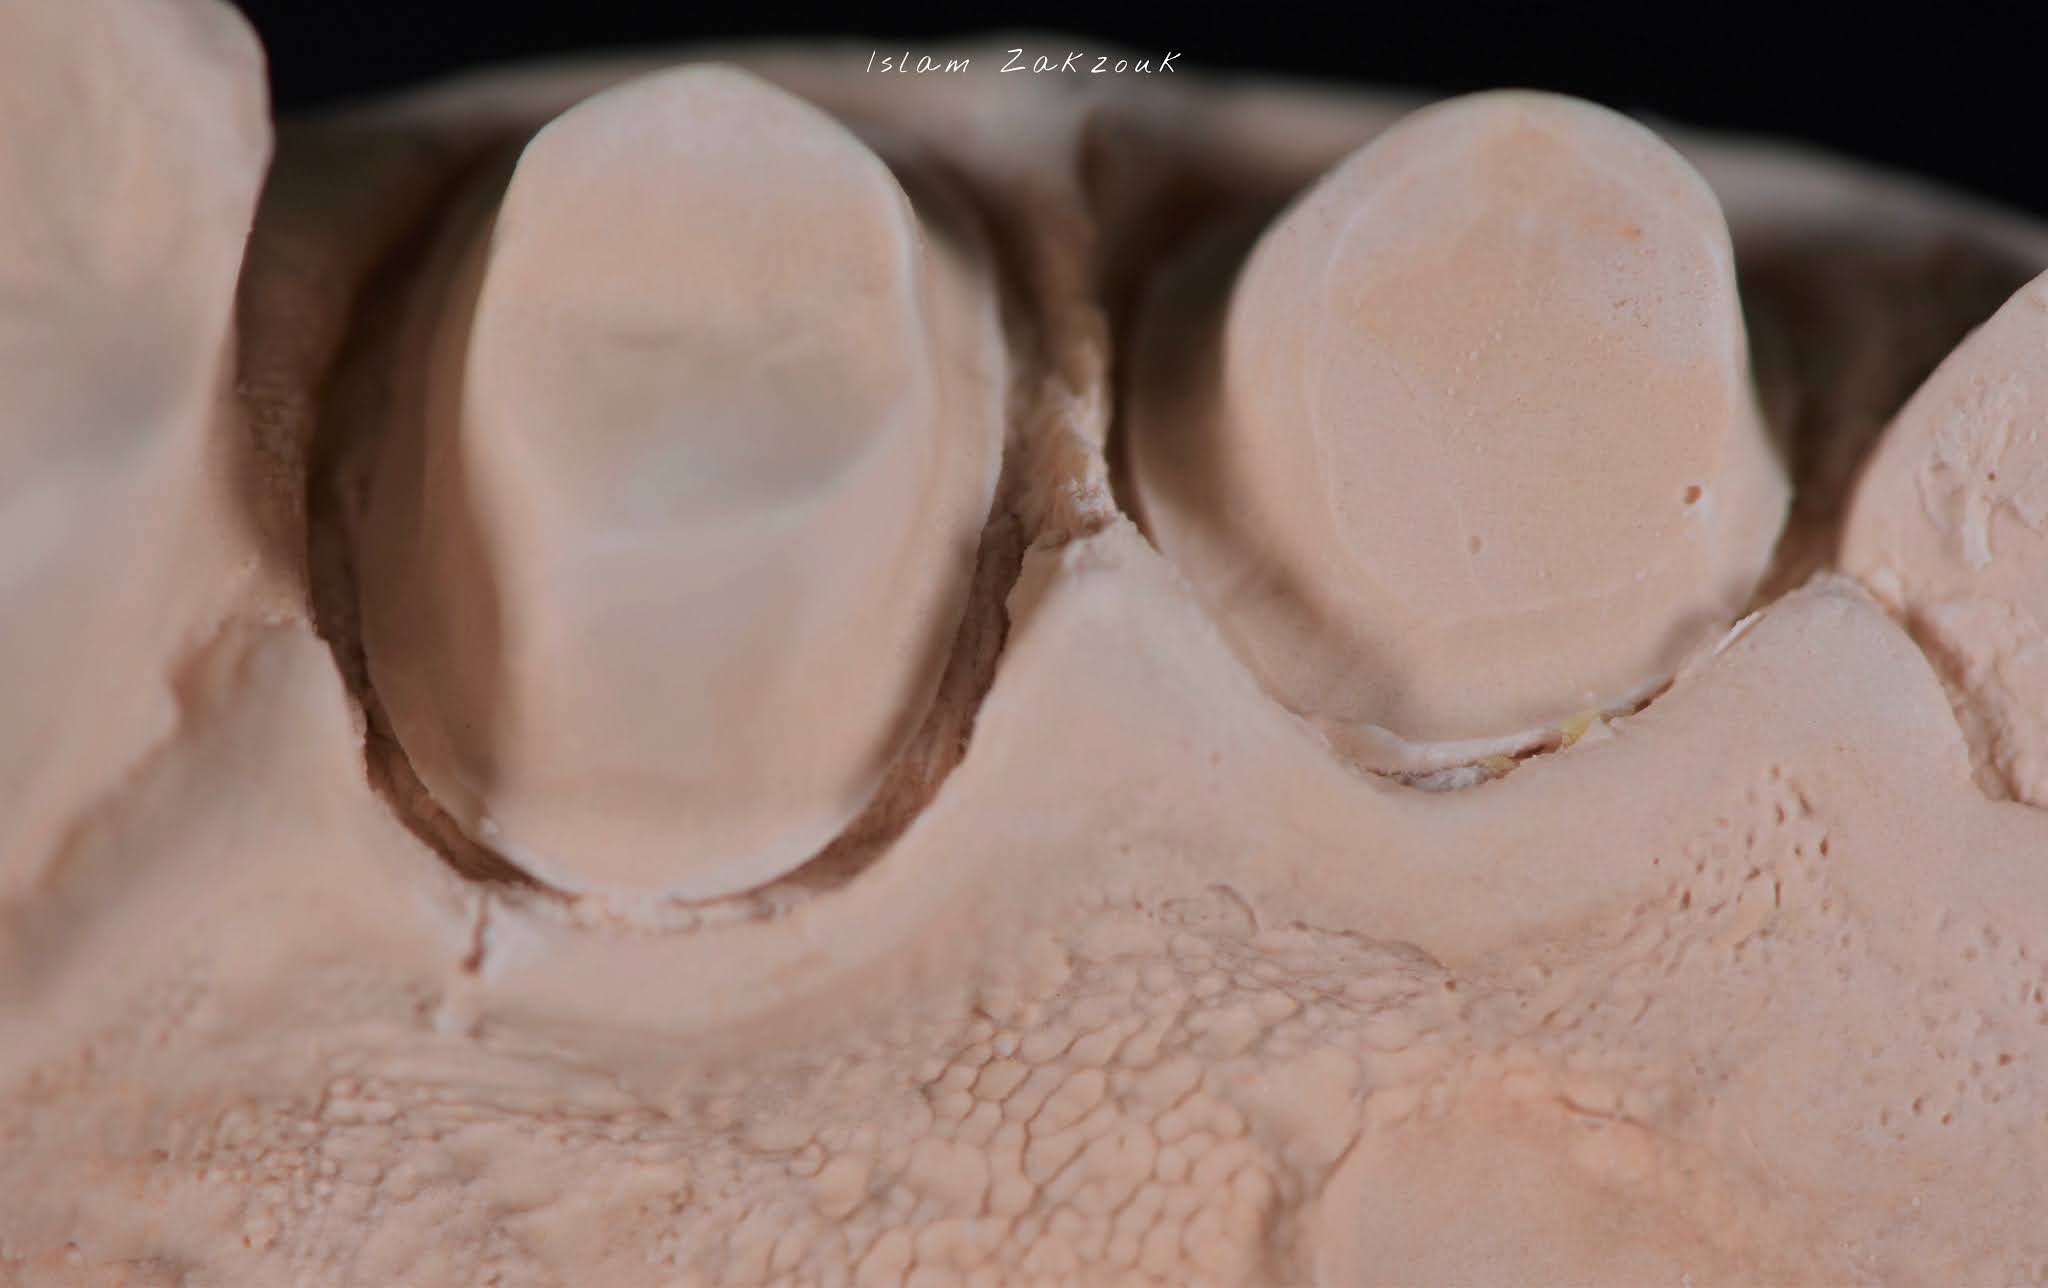
Palatal view


In the upcoming posts, we are going to discuss Impregnating chemicals & the other Gingival displacement techniques including photos and explained in detail.
Islam Zakzouk
DSefa is a blog that's dedicated to bringing you high quality health, lifestyle tutorial and resources on different categories. It's main forus on user experience.


Great work as usual, we're lucky to have free access to your articles!
ReplyDeleteMany thanks for v.precious information 🔝🔝
ReplyDeletegreat
ReplyDeleteRetraction cords: Unveiling the importance of their use in dentistry - why, when, and how they play a pivotal role in achieving successful procedures. Just as dental professionals rely on retraction cords for precision, students can rely on the convenience of Buy Cheap Dissertations to attain academic excellence without straining their budgets.
ReplyDeleteis one of the most common referencing styles, followed by different universities.Check out the formats and styles as discussed below to cite the sources in dissertation writing help
ReplyDelete